本日はAzureKinectの調査枠です。
py-k4aを使ってPythonからAzureKinectを利用してみます。
今回はインストールした py-k4a を Python スクリプトから実行してみます。
前回記事の続きです。
bluebirdofoz.hatenablog.com
サンプルスクリプトの実行
py-k4a には予め example.py という動作確認用のサンプルが付属しています。
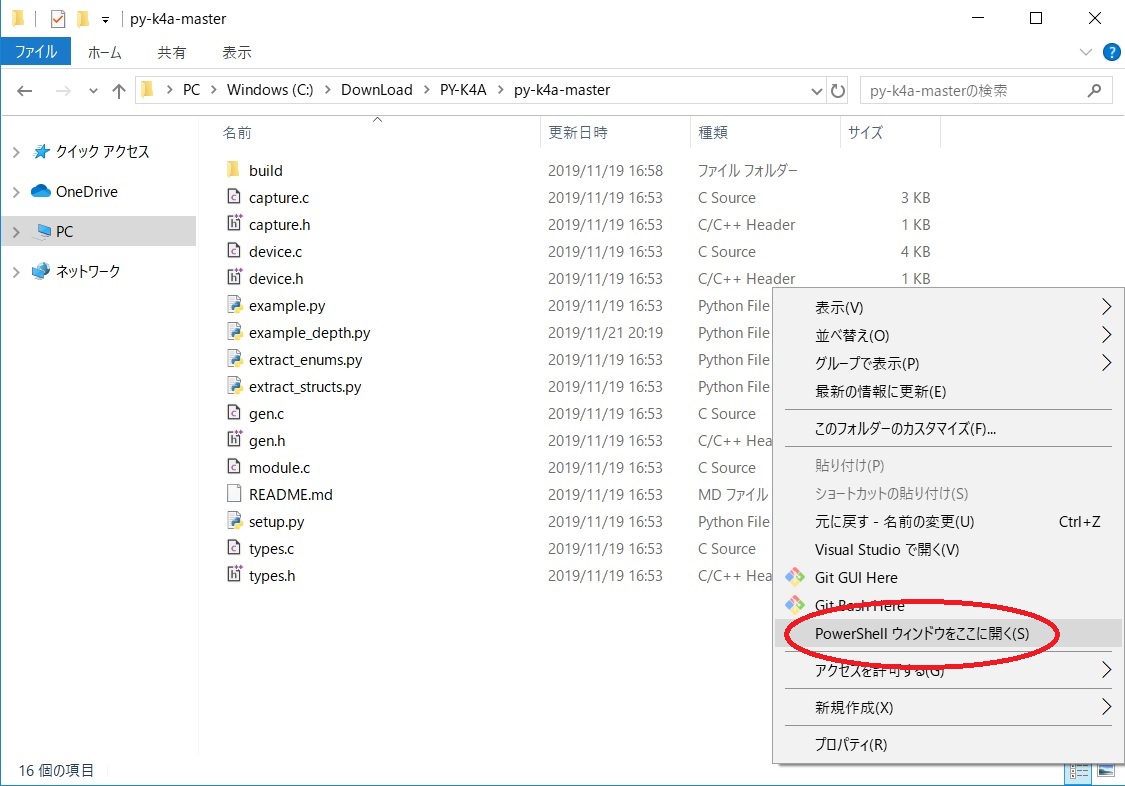
展開ディレクトリで右クリックから[PowerShellウィンドウをここに開く]をクリックします。
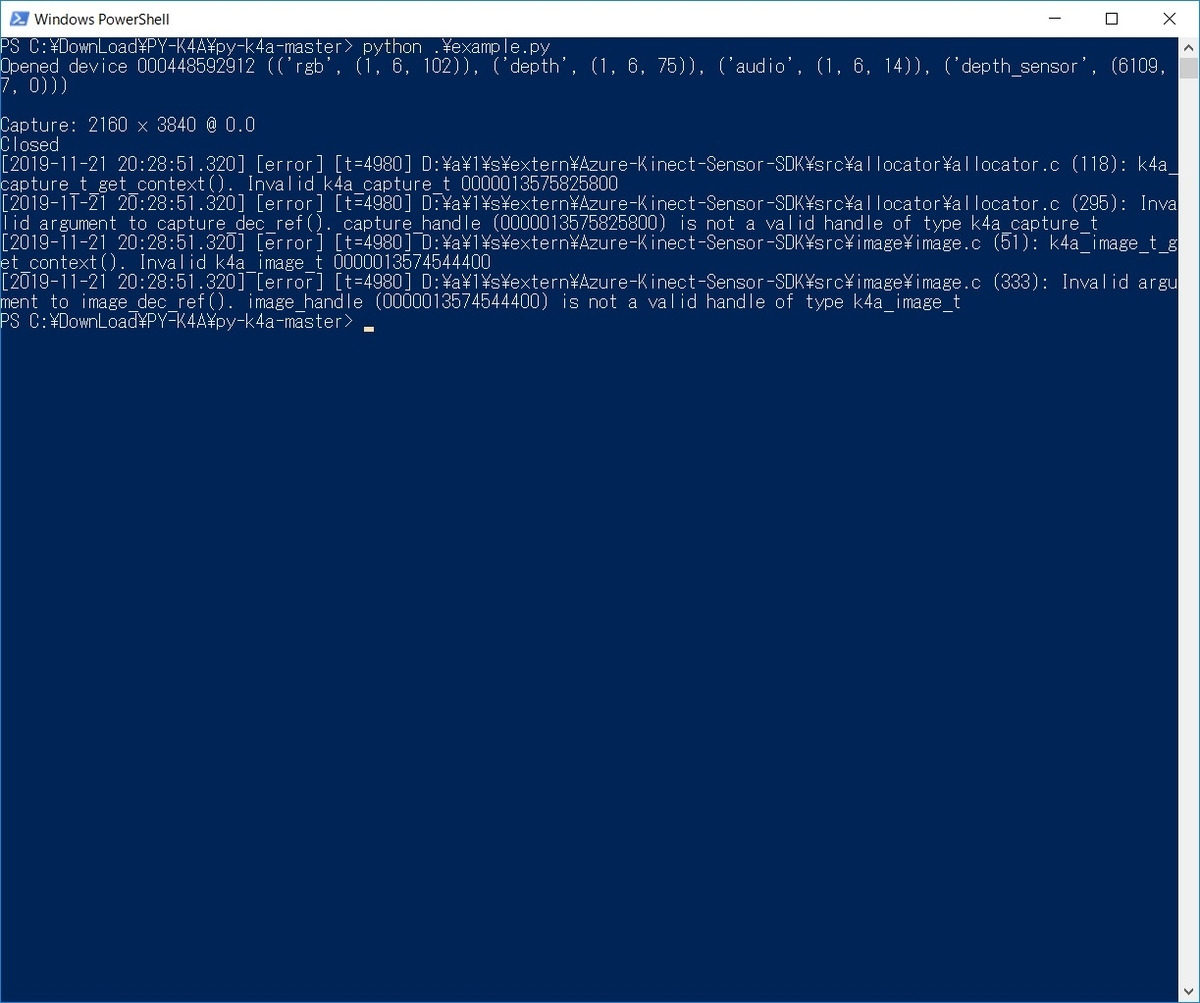
PowerShell で以下のコマンドを実行し、example.py を実行してみます。
python .\example.py
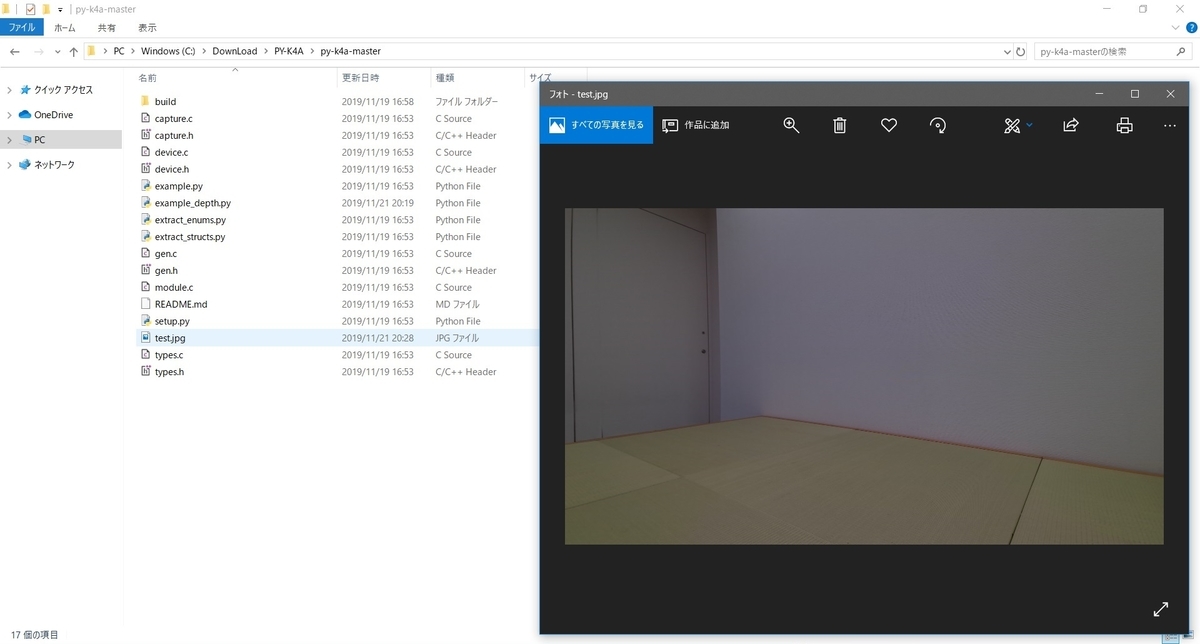
実行が完了すると、ディレクトリに test.jpg が出力されます。
RGBカメラのキャプチャ画像が出力されていれば成功です。

著者環境では実行時に以下のエラーが発生しました。
[2019-11-21 08:09:53.425] [error] [t=11032] D:\a\1\s\extern\Azure-Kinect-Sensor-SDK\src\allocator\allocator.c (118): k4a_capture_t_get_context(). Invalid k4a_capture_t 000002826A88A060
[2019-11-21 08:09:53.425] [error] [t=11032] D:\a\1\s\extern\Azure-Kinect-Sensor-SDK\src\allocator\allocator.c (295): Invalid argument to capture_dec_ref(). capture_handle (000002826A88A060) is not a valid handle of type k4a_capture_t
[2019-11-21 08:09:53.425] [error] [t=11032] D:\a\1\s\extern\Azure-Kinect-Sensor-SDK\src\image\image.c (51): k4a_image_t_get_context(). Invalid k4a_image_t 000002826A6FF140
[2019-11-21 08:09:53.426] [error] [t=11032] D:\a\1\s\extern\Azure-Kinect-Sensor-SDK\src\image\image.c (333): Invalid argument to image_dec_ref(). image_handle (000002826A6FF140) is not a valid handle of type k4a_image_t
本エラーが発生しても動作には問題ありませんが、現状エラー原因は不明です。
Depth画像の取得
サンプルスクリプトはRGBカメラの画像出力のみなので、試しに Depth 画像の出力も行ってみます。
Python スクリプト側で 16bit 深度の png 画像を出力する必要があるので、python-opencv をインストールします。
opencv-python は pip でのインストールが可能です。PowerShell を起動し、以下のコマンドを実行します。
python -m pip install -U opencv-python
Python にパスを通していない場合は Python
のインストールディレクトリで以下のコマンドを実行します。
.\python -m pip install -U opencv-python

サンプルスクリプトとして、example.py を改変して以下の Python スクリプトを作成しました。
・example_depth.py
以下のコマンドを実行し、example_depth.py を実行してみます。
python .\example_depth.py
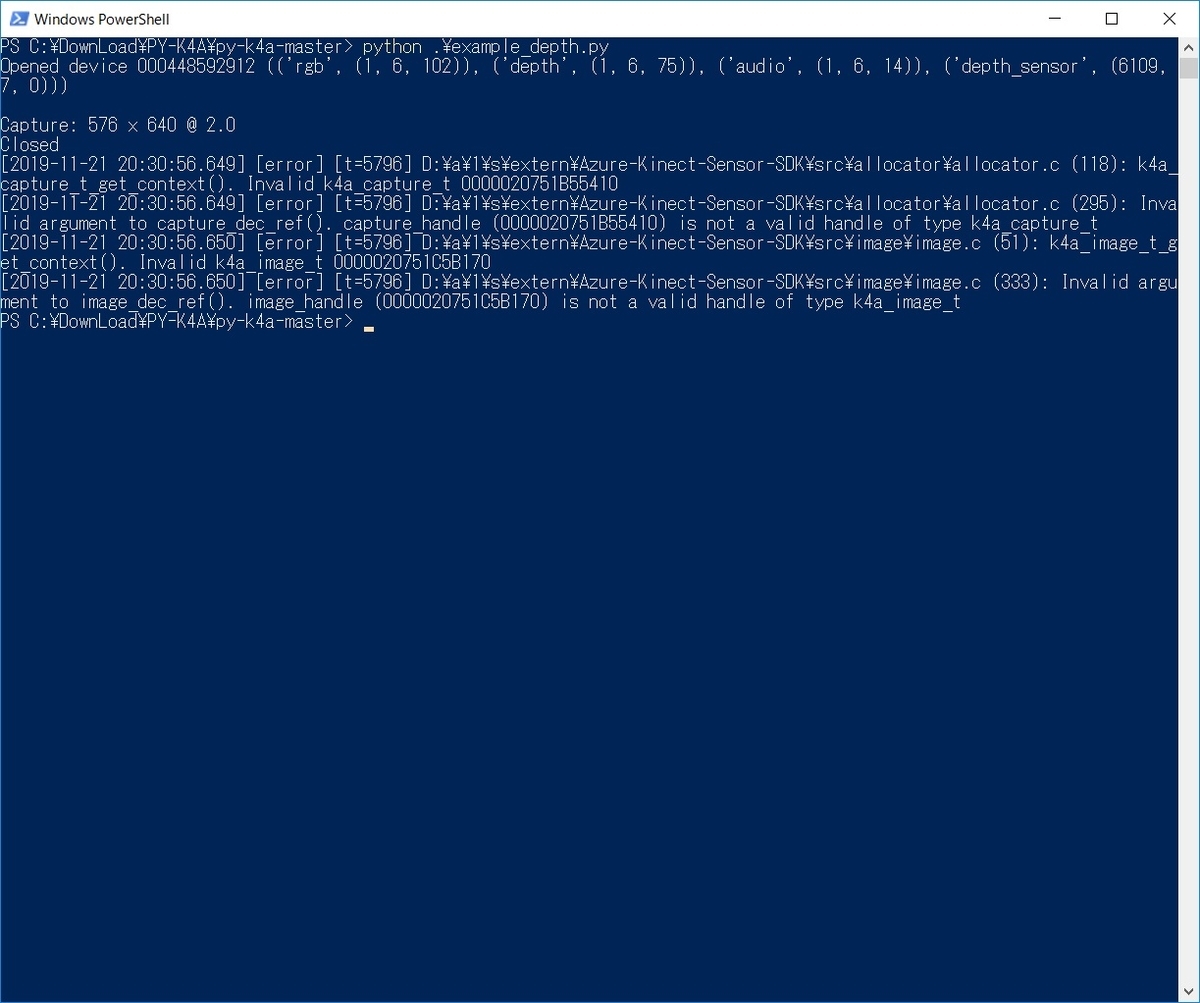
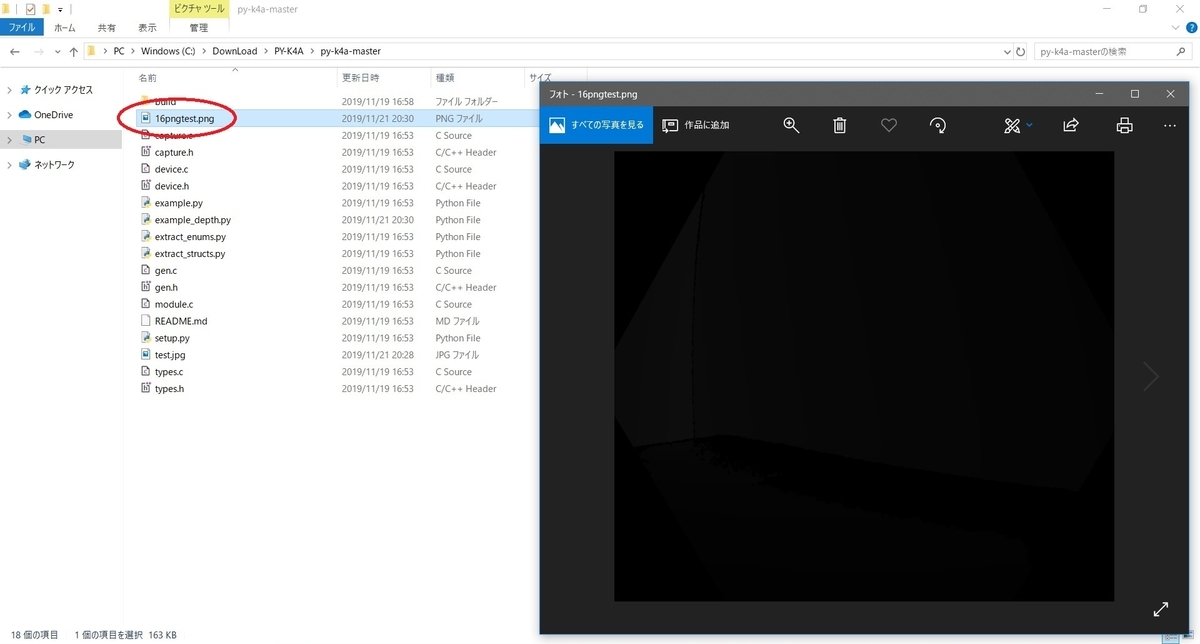
実行が完了すると、ディレクトリに 16pngtest.jpg が出力されます。
深度の距離が浅いのでビューアソフトで開いても、ほとんど真っ暗な画像が表示されます。
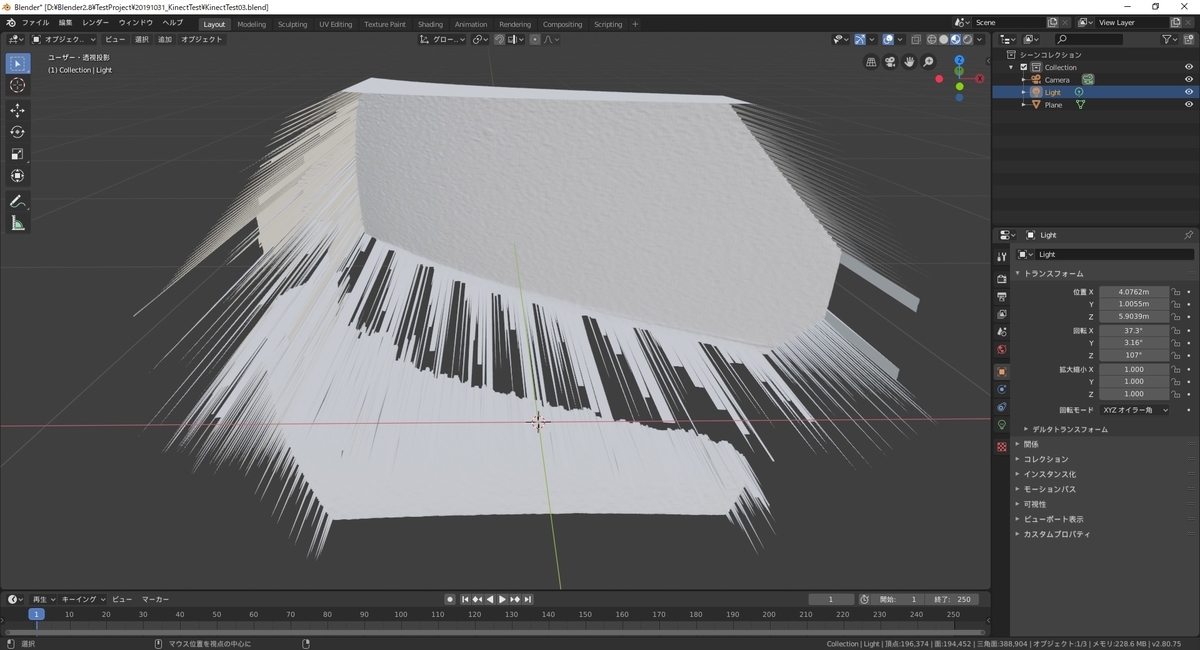
試しに以下の手順を流用し、Blender に読み込んでディスプレイスメントで凹凸として画像を読み込んでみました。
bluebirdofoz.hatenablog.com
凹凸が再現できていれば成功です。
