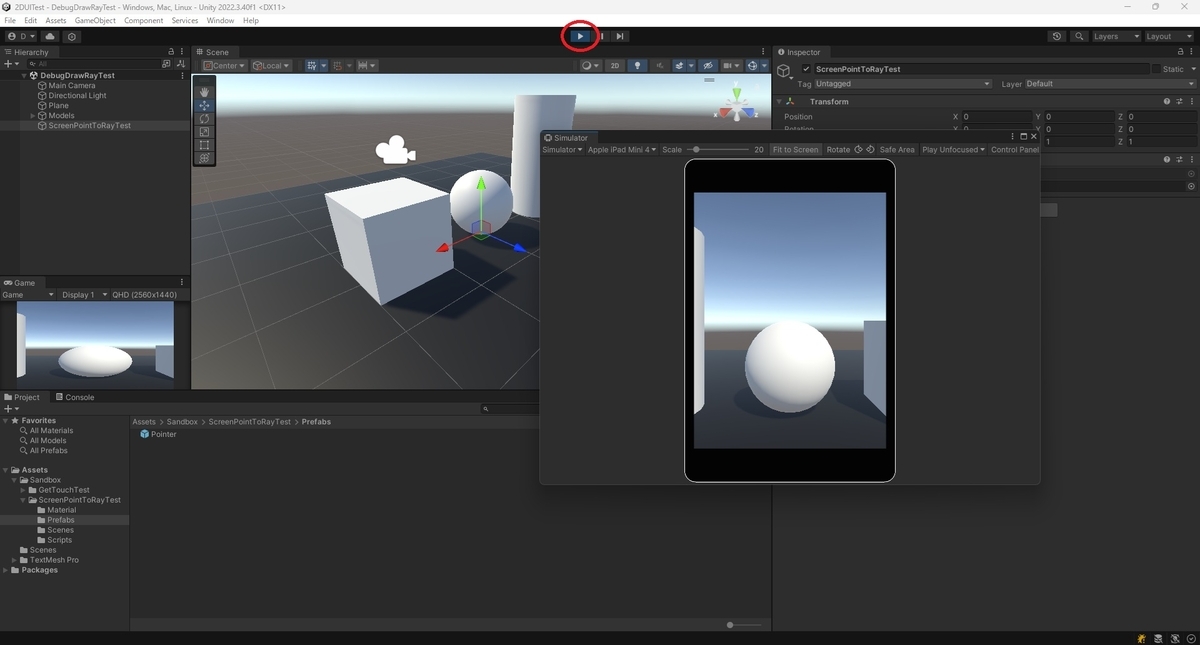
本日はUnityの小ネタ枠です。
Unityでレイキャストをエディター上でデバッグ表示する方法です。
Debug.DrawRay
Debug.DrawRayはエディターのSceneビューにレイを表示します。
Gameビューのギズモの描画が有効になっている場合、Gameビューにも描画されます。
docs.unity.cn
DrawRay (Vector3 start, Vector3 dir, Color color= Color.white, float duration= 0.0f, bool depthTest= true)
| 引数 | 説明 |
|---|---|
| start | レイを開始する位置(ワールド座標) |
| dir | レイの向きと長さ |
| color | ラインの色 |
| duration | ラインを表示する時間(秒単位) |
| depthTest | ラインがカメラから近いオブジェクトによって隠された場合にラインを隠すかどうか |
using UnityEngine;
using System.Collections;

public class ExampleClass : MonoBehaviour {
    void Update() {
        Vector3 forward = transform.TransformDirection(Vector3.forward) * 10;
        Debug.DrawRay(transform.position, forward, Color.green);
    }
}
サンプルスクリプト
スクリーンへのタップのレイキャストをデバッグ表示する以下のサンプルスクリプトを作成しました。
・DebugDrawRayTest.cs
using UnityEngine;

public class DebugDrawRayTest : MonoBehaviour
{
    [SerializeField]
    private GameObject pointerPrefabs;

    private GameObject spawnedPointer;

    void Update()
    {
        // ひとつ以上のタッチがある場合
        if (Input.touchCount > 0)
        {
            // 一つ目のタッチを取得
            Touch touch = Input.GetTouch(0);

            // タッチ開始時のみスポーン処理を行う
            if (touch.phase == TouchPhase.Began)
            {
                // 生成済みのポインターオブジェクトが残っている場合は削除する
                if (spawnedPointer != null) Destroy(spawnedPointer);

                // ポイント座標からレイを飛ばしたところにポインターオブジェクトを生成する
                Ray ray = Camera.main.ScreenPointToRay(touch.position);
                // レイの上限距離は5m
                if (Physics.Raycast(ray, out RaycastHit hit, 5f))
                {
                    spawnedPointer = Instantiate(pointerPrefabs, hit.point, Quaternion.identity);

                    // レイをデバッグ表示する(レイの始点、方向と距離、色、表示時間)
                    Debug.DrawRay(ray.origin, ray.direction * hit.distance, Color.yellow, 5f);
                }
            }
        }
    }
}

シーンを再生して画面タップを行うと、Sceneビューに以下の通りレイが表示されます。

