本日はアプリ作成枠です。
HoloLens2でホロモンアプリを作る進捗を書き留めていきます。

以下の記事でホロモンの視線をこちらに向ける実装を行いました。
bluebirdofoz.hatenablog.com
今回はホロモンの全身をこちらに向けるため、MRTKのBillboardを使ってホロモンをスムーズにこちらに向かせるメモです。
Billboard
MRTK に含まれる Billboard は GameObject をユーザーに正対させるためのコンポーネントです。
hololabinc.github.io
UI を常にユーザが見やすい方向に向けるのに役立ちますが、今回はホロモンをユーザの方向に向かせるために利用してみます。
MRTKのインポート
MRTK のインポート手順は以下の記事を参照ください。
bluebirdofoz.hatenablog.com
スムーズにBillboardの有効無効を切り替える
デフォルトの Billboard を利用した場合、コンポーネントを有効にした瞬間、GameObject がユーザに正対します。
UI などではこれでも良いですが、ホロモンではスムーズにこちらを向く動きにしたかったのでスクリプトを改変しました。
・HMBillboard.cs
using System.Collections;
using System.Collections.Generic;
using UnityEngine;

using Microsoft.MixedReality.Toolkit.Utilities;

namespace HMProject.HoloMonUtilities
{
    public class HMBillboard : MonoBehaviour
    {
        /// <summary>
        /// The axis about which the object will rotate.
        /// </summary>
        public PivotAxis PivotAxis
        {
            get { return pivotAxis; }
            set { pivotAxis = value; }
        }

        [Tooltip("Specifies the axis about which the object will rotate.")]
        [SerializeField]
        private PivotAxis pivotAxis = PivotAxis.XY;

        public bool isActive = true;

        public bool isYAxisInverse = true;

        // 線形補間用のパラメータ
        public float lerpFloat = 0.05f;

        /// <summary>
        /// The target we will orient to. If no target is specified, the main camera will be used.
        /// </summary>
        public Transform TargetTransform
        {
            get { return targetTransform; }
            set { targetTransform = value; }
        }

        [Tooltip("Specifies the target we will orient to. If no target is specified, the main camera will be used.")]
        [SerializeField]
        private Transform targetTransform;

        private void Start()
        {
        }

        private void OnEnable()
        {
            if (targetTransform == null)
            {
                targetTransform = CameraCache.Main.transform;
            }
        }

        /// <summary>
        /// Keeps the object facing the camera.
        /// </summary>
        private void Update()
        {
            if (targetTransform == null)
            {
                return;
            }

            // Get a Vector that points from the target to the main camera.
            Vector3 directionToTarget = targetTransform.position - transform.position;

            bool useCameraAsUpVector = true;

            // Adjust for the pivot axis.
            switch (pivotAxis)
            {
                case PivotAxis.X:
                    directionToTarget.x = 0.0f;
                    useCameraAsUpVector = false;
                    break;

                case PivotAxis.Y:
                    directionToTarget.y = 0.0f;
                    useCameraAsUpVector = false;
                    break;

                case PivotAxis.Z:
                    directionToTarget.x = 0.0f;
                    directionToTarget.y = 0.0f;
                    break;

                case PivotAxis.XY:
                    useCameraAsUpVector = false;
                    break;

                case PivotAxis.XZ:
                    directionToTarget.x = 0.0f;
                    break;

                case PivotAxis.YZ:
                    directionToTarget.y = 0.0f;
                    break;

                case PivotAxis.Free:
                default:
                    // No changes needed.
                    break;
            }

            // If we are right next to the camera the rotation is undefined.
            if (directionToTarget.sqrMagnitude < 0.001f)
            {
                return;
            }

            Quaternion lookAtRotation = new Quaternion();
            // Calculate and apply the rotation required to reorient the object
            if (useCameraAsUpVector)
            {
                lookAtRotation = Quaternion.LookRotation(-directionToTarget, CameraCache.Main.transform.up);
            }
            else
            {
                lookAtRotation = Quaternion.LookRotation(-directionToTarget);
            }

            // 後ろ方向(Y軸反転)を向く
            if(isYAxisInverse)
            {
                lookAtRotation.eulerAngles = new Vector3(
                    lookAtRotation.eulerAngles.x,
                    lookAtRotation.eulerAngles.y + 180.0f,
                    lookAtRotation.eulerAngles.z
                );
            }

            // Lerpを利用した有効無効の切り替え
            if (isActive)
            {
                // 線形補間用のパラメータ
                transform.rotation = Quaternion.Lerp(transform.rotation, lookAtRotation, lerpFloat);
            }
        }
    }
}
回転動作に Lerp を設定した点と、反対方向(後ろ)を向く処理を追加した点を改変しました。
作成したスクリプトをホロモンにアタッチします。

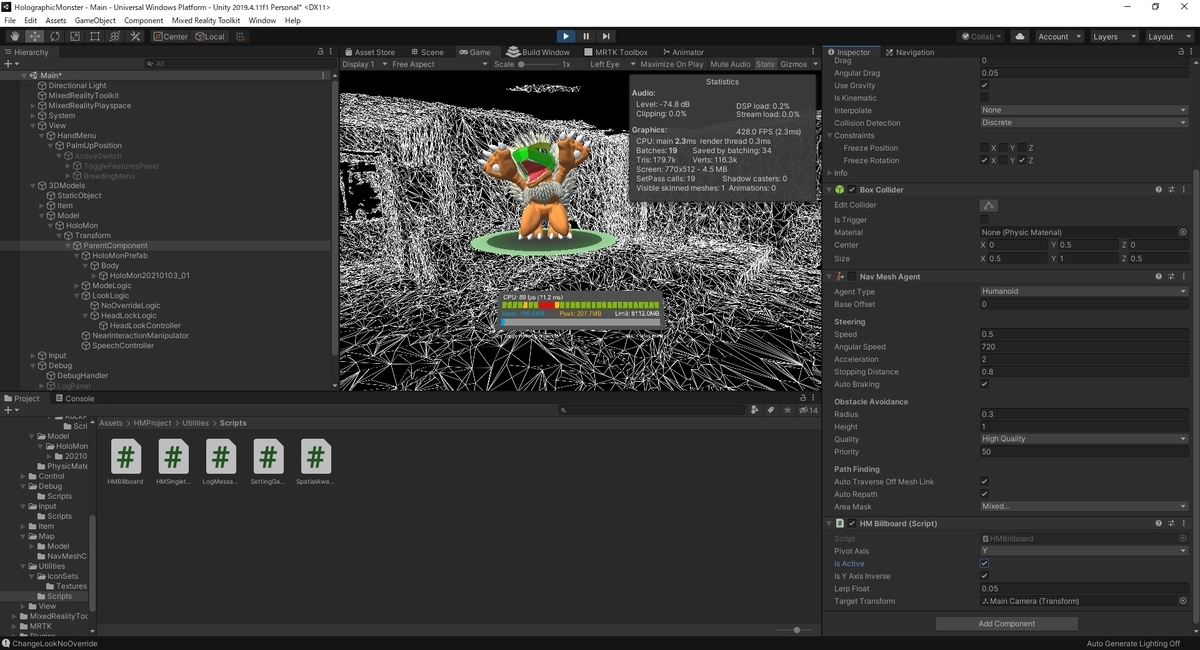
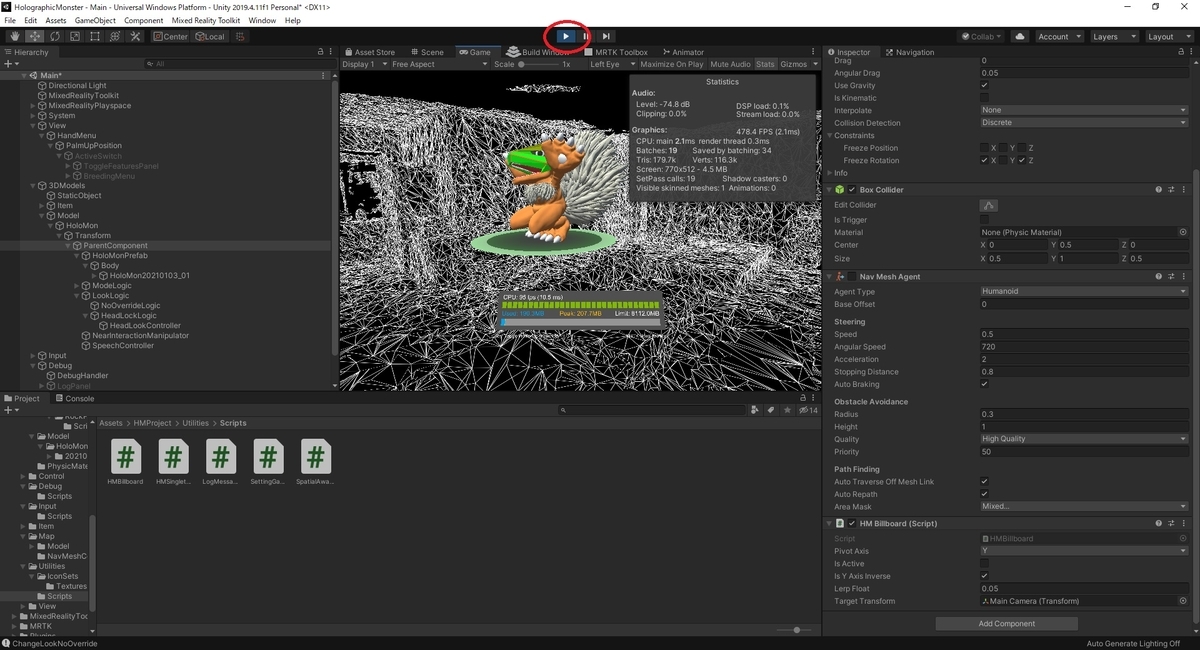
シーンを実行して動作を確認します。

Inspector ビューからチェックボックスを切り替えて動作を確認します。
ユーザ方向への正対がスムーズに行われれば正しく動いています。
